Re: Gush's TC Giga Meter Build
Posted: September 15th, 2016, 5:24 pm
As I began to experiment with the electronics setup, it became clear that there wasn't gonna be much room in the compartment with the Heavy Props board and the Arduino Nano...or at least not the way I had it set up.
Originally, I just got one of these terminal adapter boards that extended the Nano with screw terminals. This made it easy to wire up the 7-segment display and swap out the Nano board for maintenance if needed.
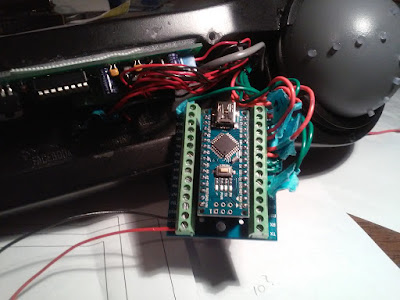
However, with the Nano and Heavy Props boards in there, it was a pretty tight fit.
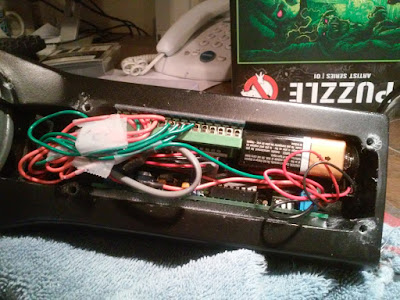
I also found out that I couldn't run both boards off one battery. There simply was not enough juice. It was clear that I would need two batteries, one for each board.
Since it was pretty cramped in there already, I decided to ditch the terminal adapter board. I first considered soldering the wires from the 7-segment dispay directly to the Nano board, but while that would have provided optimal space, I still wanted the option to easily take out the board if needed. That's when I had an idea to make use of some extra test wires that came with a previous Arduino kit...
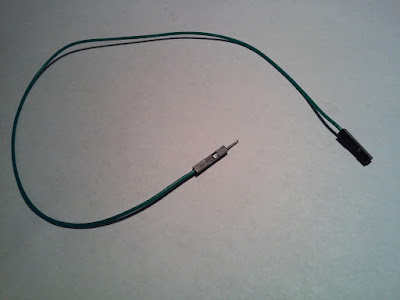
Clipping off the male end, I had a nice little lead with a connector that would easily connect to the pins on my Arduino Nano board. So I got to work re-soldering.
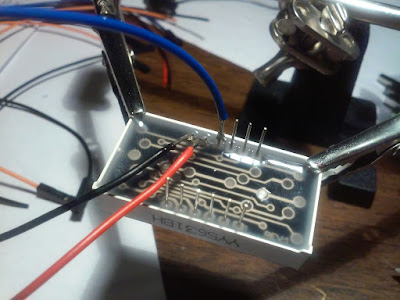
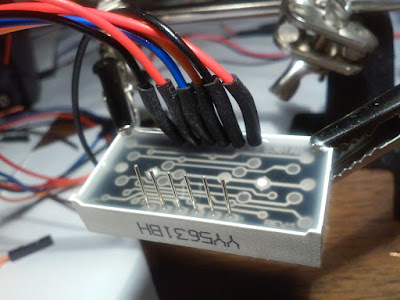
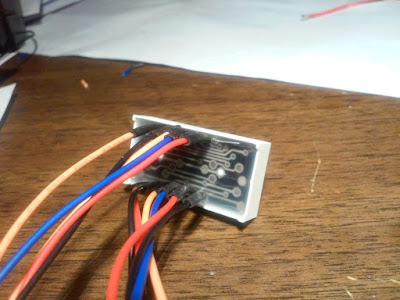
And wrapped it all up with colorful heat shrink tubing...

...and tagged each wire with the appropriate pin number for reference.
While having to re-do something is always a pain, it almost always turns out better the second time.
Originally, I just got one of these terminal adapter boards that extended the Nano with screw terminals. This made it easy to wire up the 7-segment display and swap out the Nano board for maintenance if needed.
However, with the Nano and Heavy Props boards in there, it was a pretty tight fit.
I also found out that I couldn't run both boards off one battery. There simply was not enough juice. It was clear that I would need two batteries, one for each board.
Since it was pretty cramped in there already, I decided to ditch the terminal adapter board. I first considered soldering the wires from the 7-segment dispay directly to the Nano board, but while that would have provided optimal space, I still wanted the option to easily take out the board if needed. That's when I had an idea to make use of some extra test wires that came with a previous Arduino kit...
Clipping off the male end, I had a nice little lead with a connector that would easily connect to the pins on my Arduino Nano board. So I got to work re-soldering.
And wrapped it all up with colorful heat shrink tubing...
...and tagged each wire with the appropriate pin number for reference.
While having to re-do something is always a pain, it almost always turns out better the second time.


