- July 26th, 2013, 1:01 am#452633
Let's just get to business.
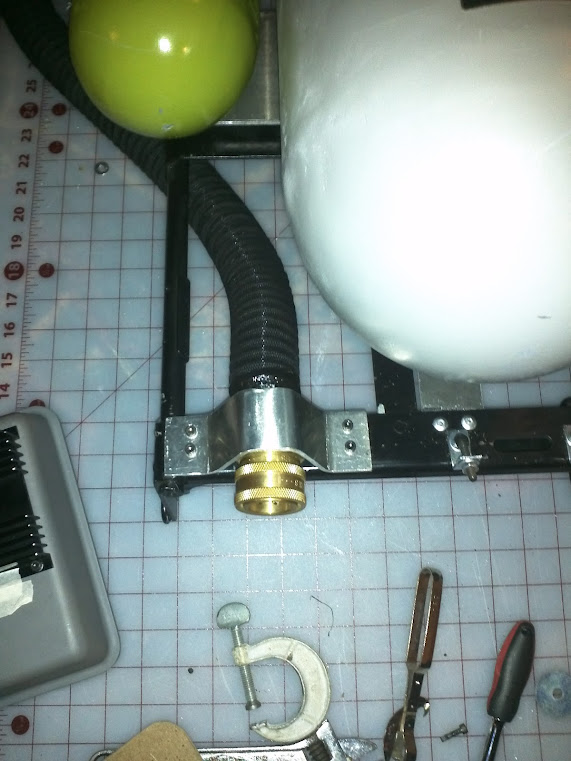
Drilled the holes for the loom that runs up the tanks in the tray lid:

The holes center points are 1.5" from the edge and they are 13/16"
I used a step bit. If you need one, Harbor Freight; I paid less than $10 for a two pack that also came a bigger one.
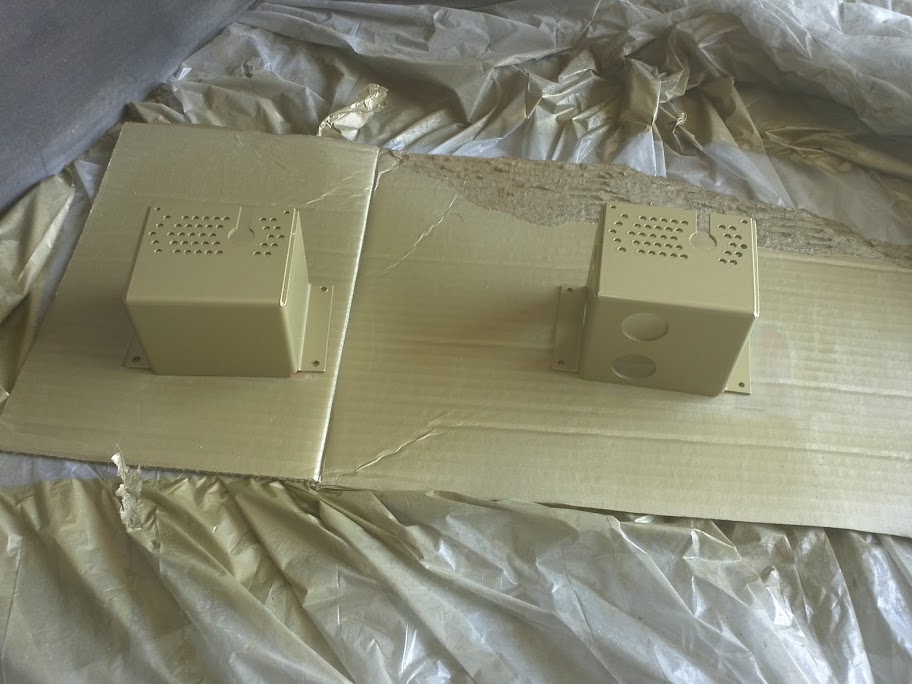
Finally attached the third hose to the Parker quick-connect on the left side.
I simply used some of the same tape thus far to hold it in place and then smashed it under the angled plate.
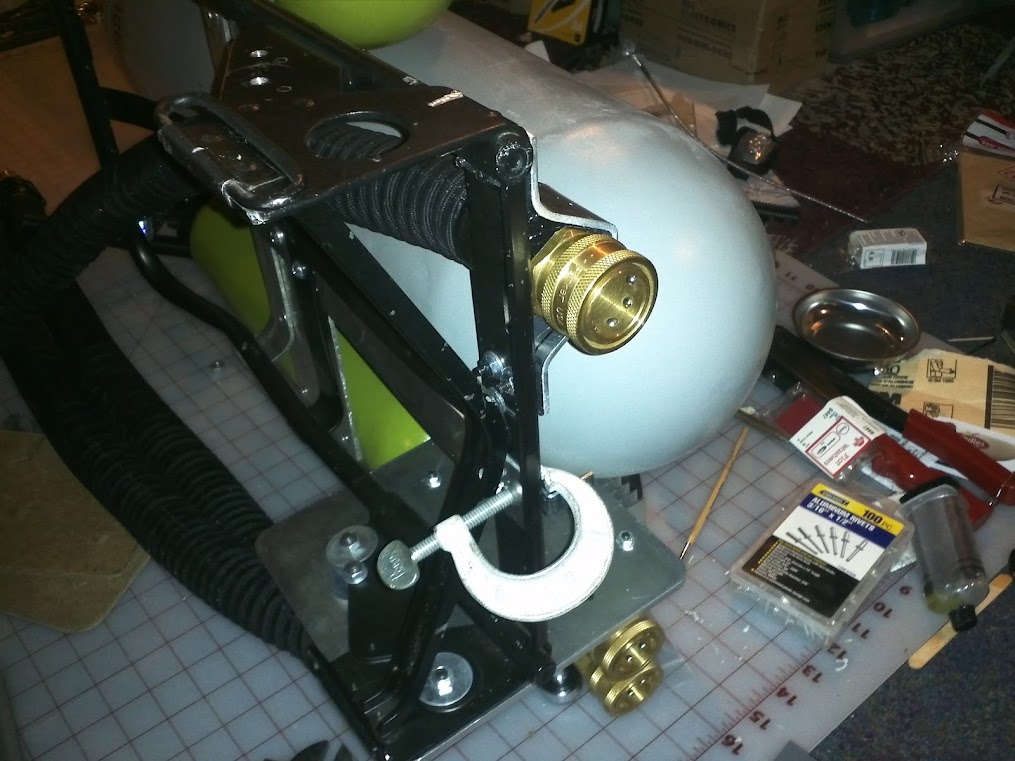
That clamp helped to hold the plate down while I tightened the screws.


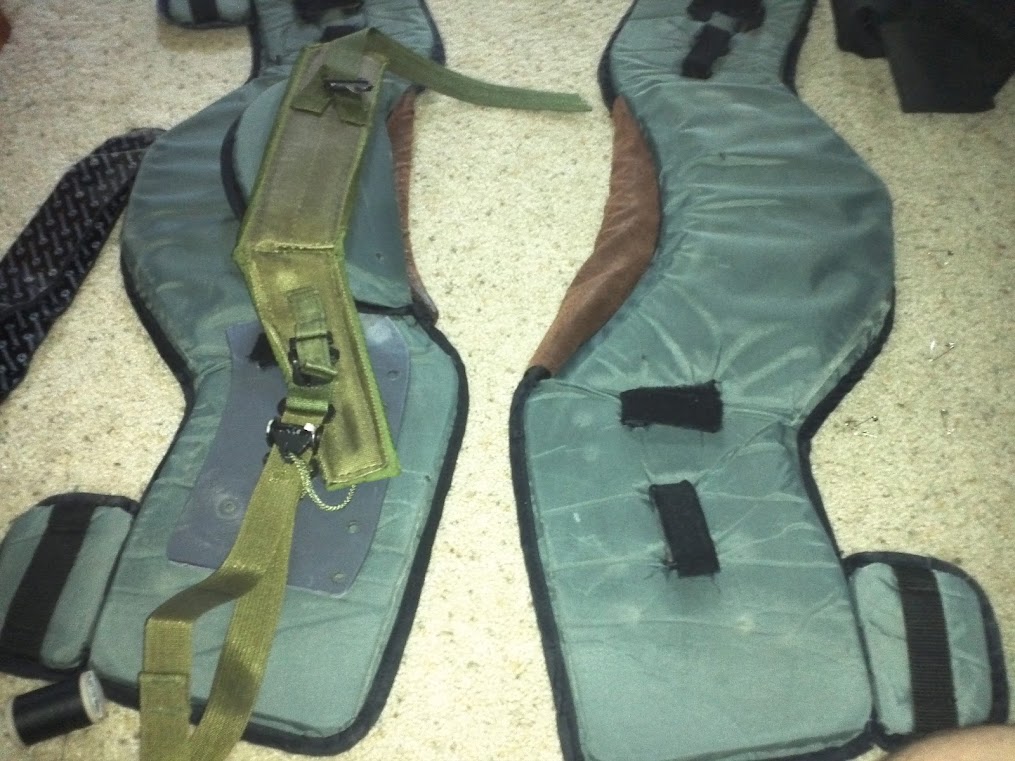
Then, I set about getting the vest in order.
First things first, I need extra pads for under the ALICE straps.
I decided to use the extra pads on the shoulder flaps for those.
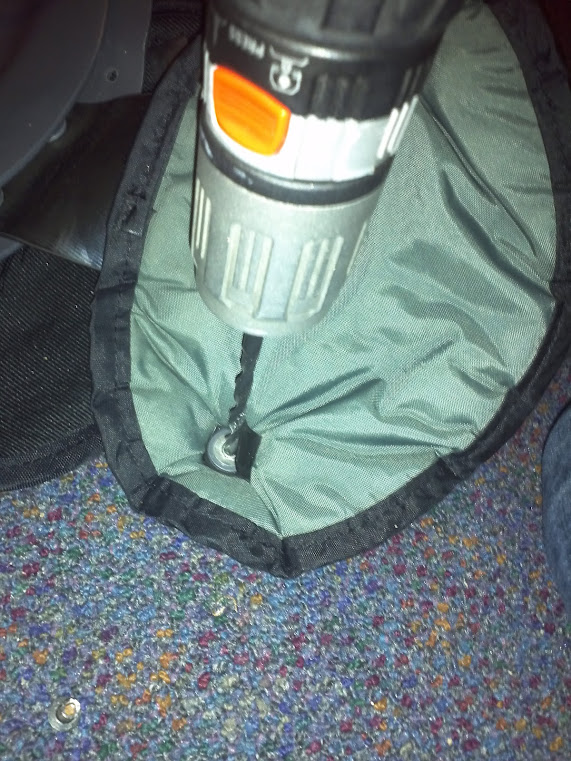
Drill the rivets out right and those little plastic retaining clips come right off.

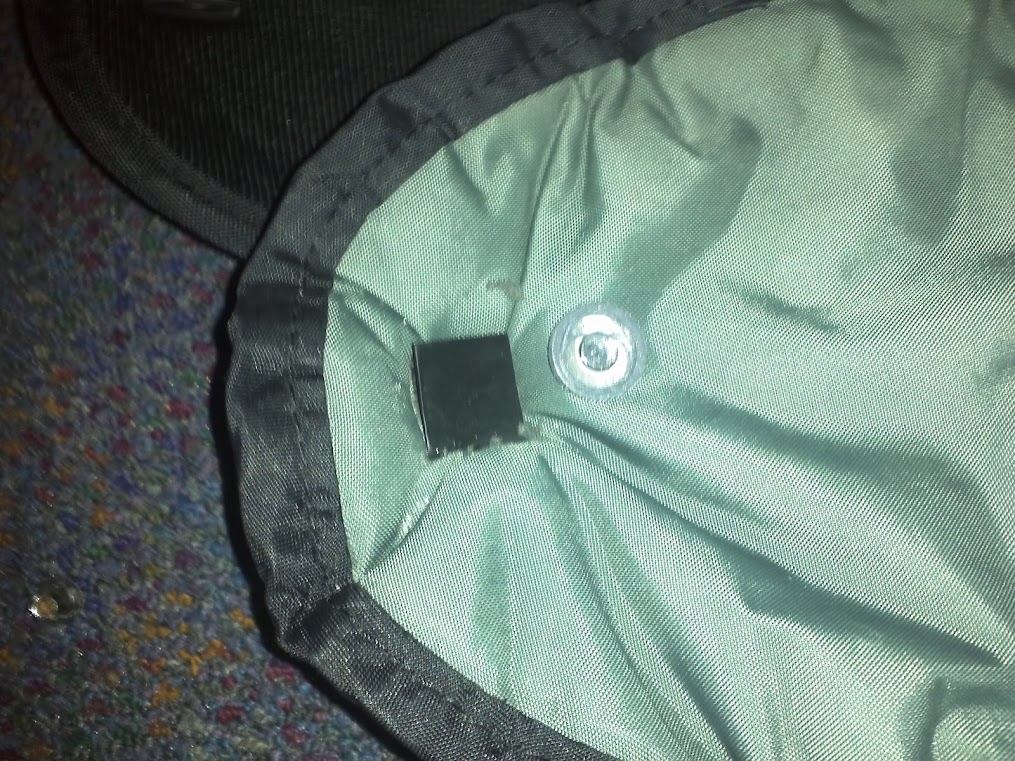
Then the pad pulls right off.
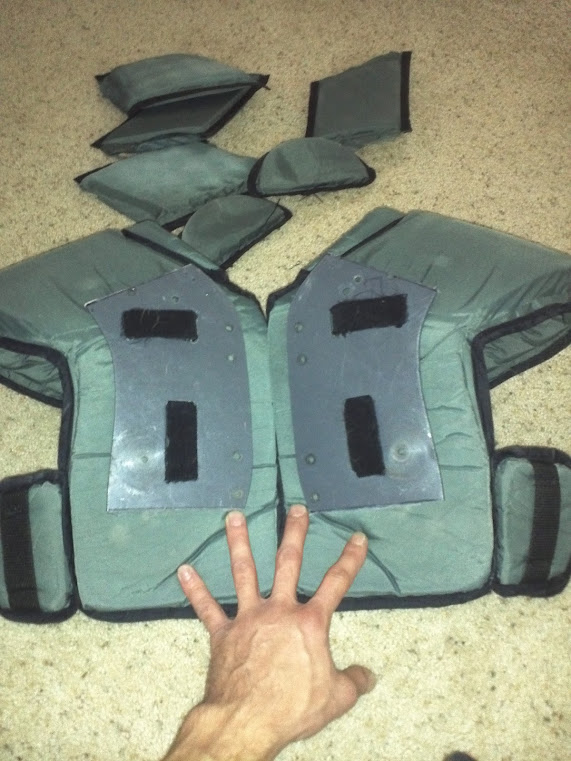
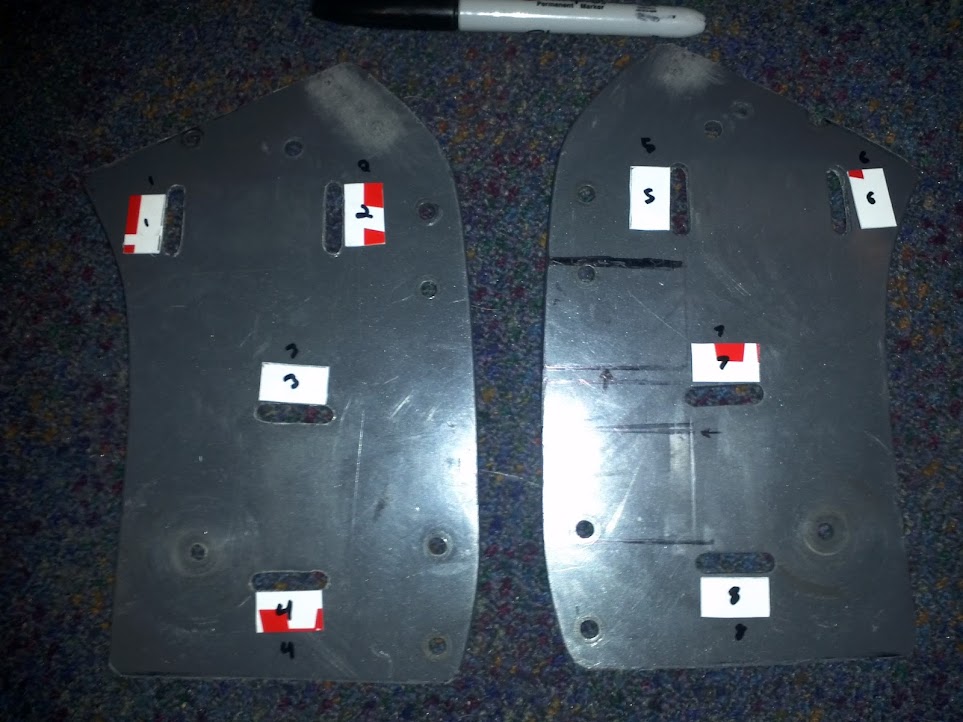
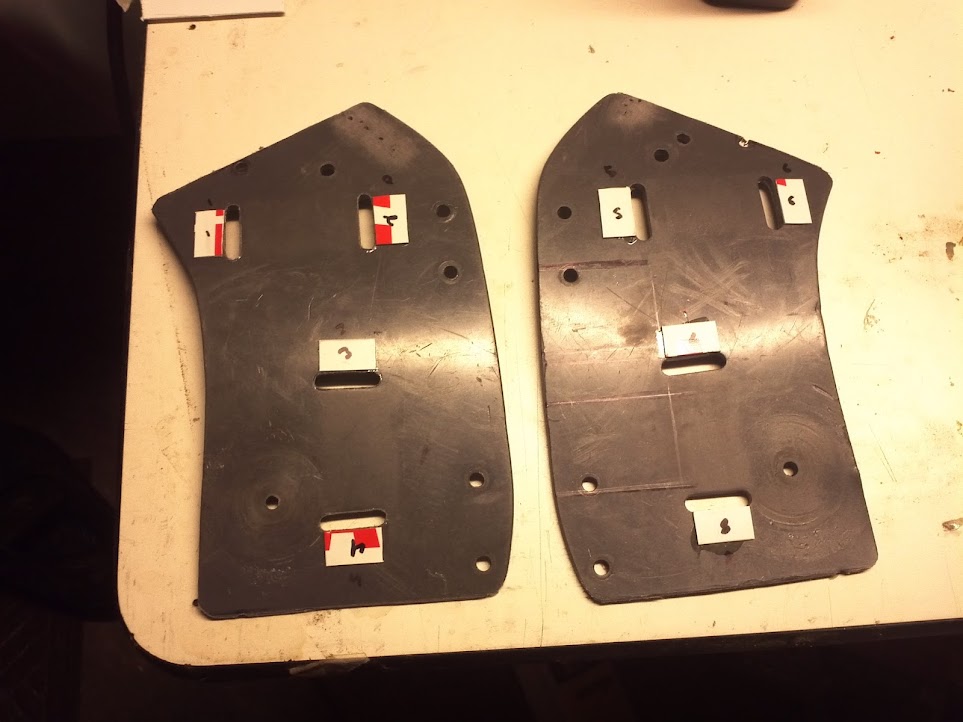
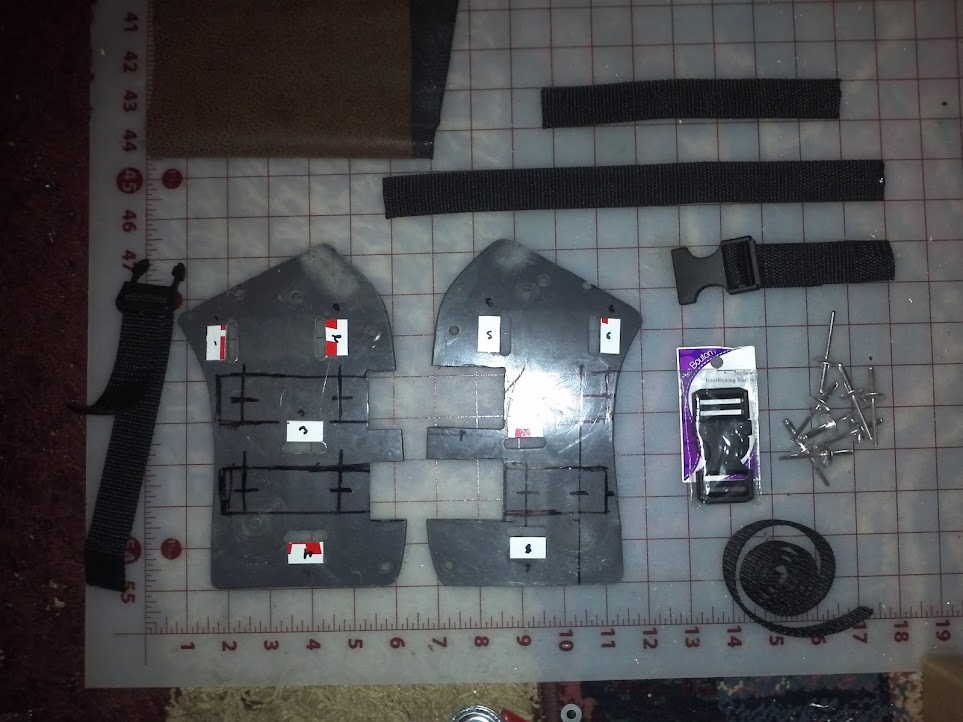
Laid everything out to get a feel for it.

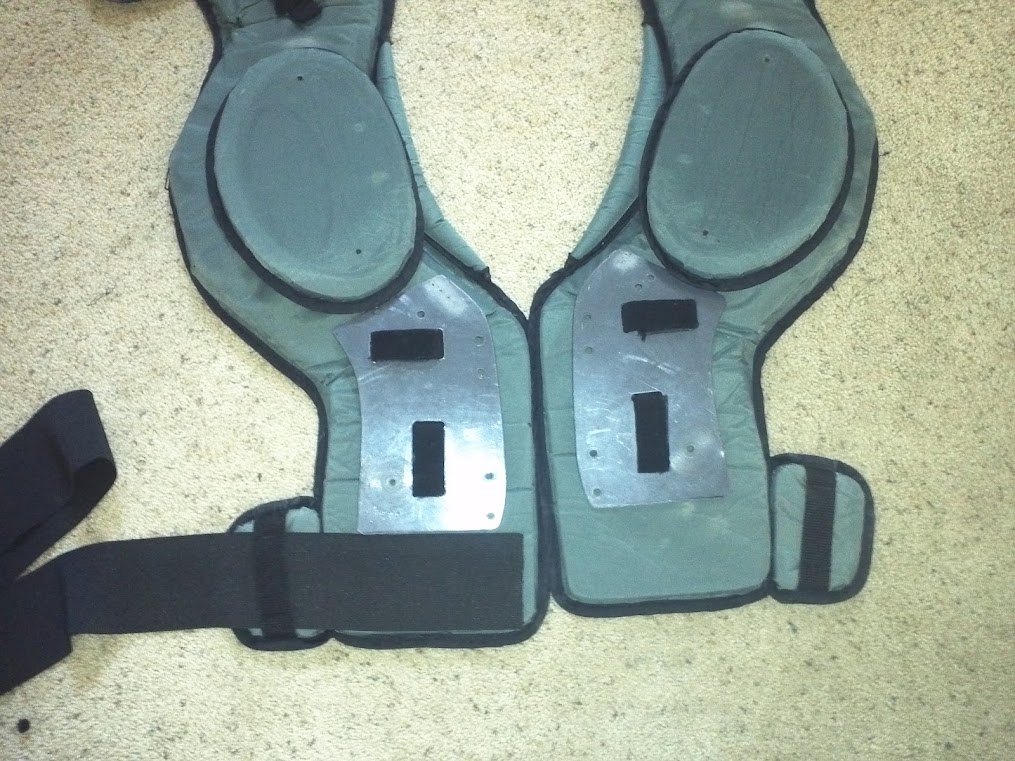
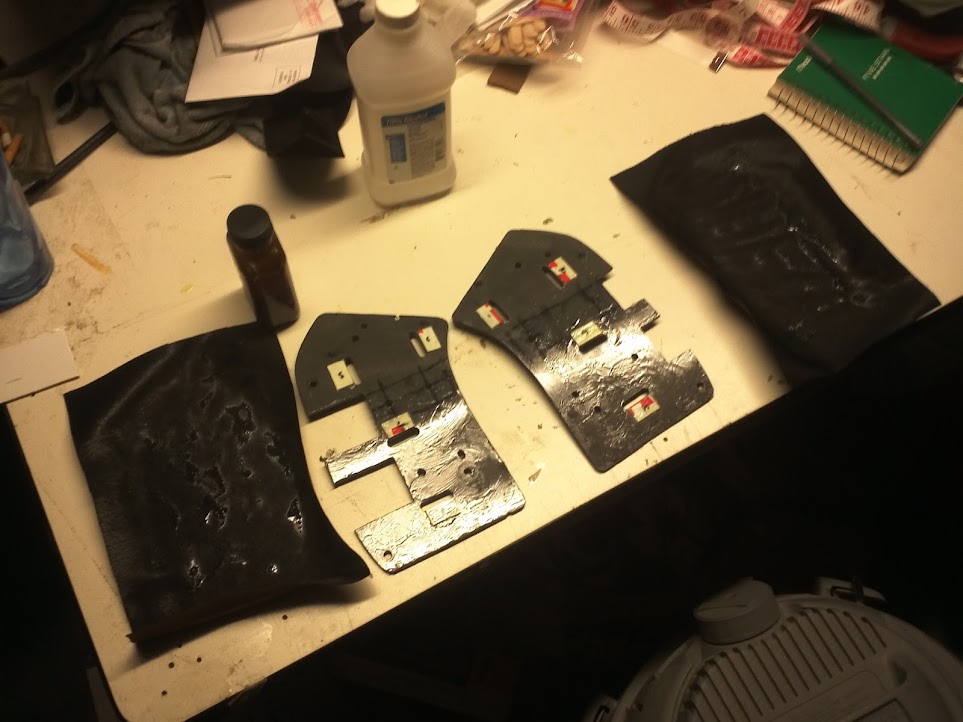
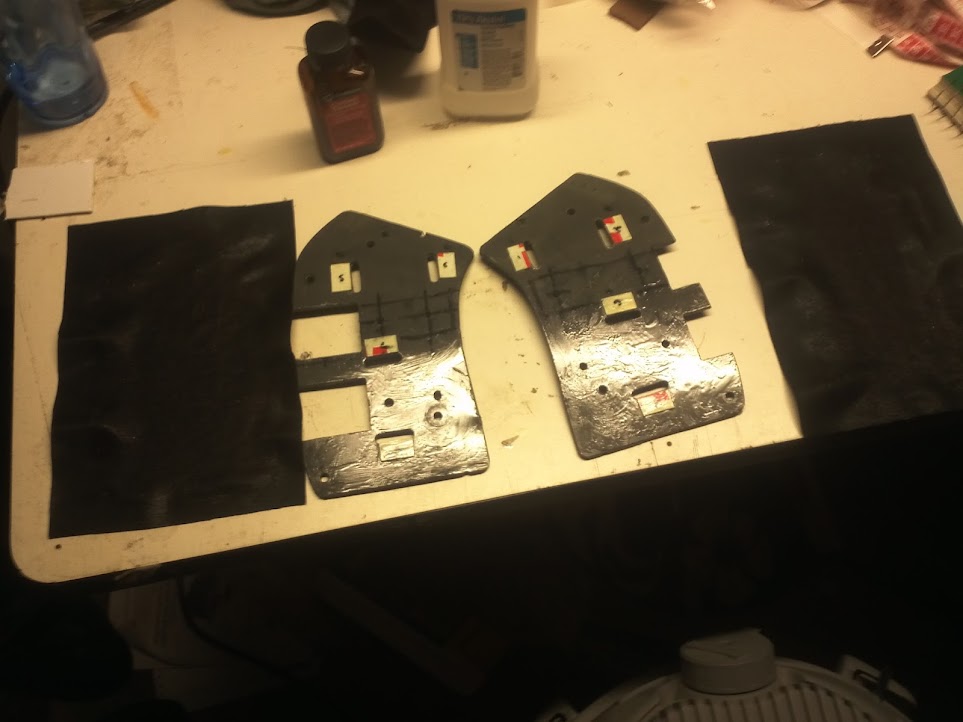
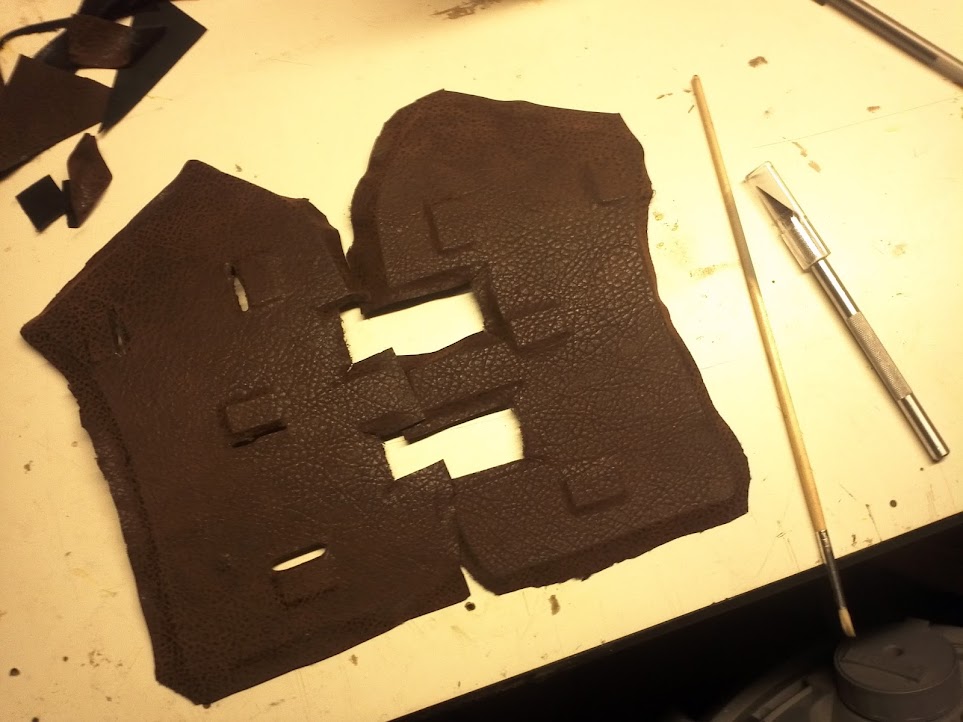
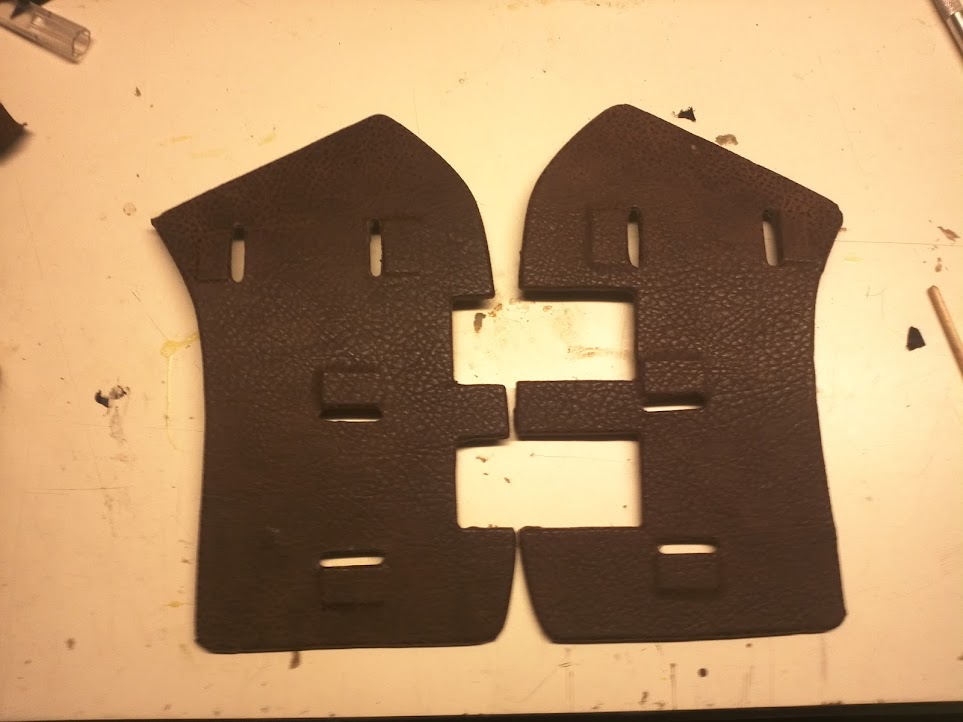
Next up, the chest plates.
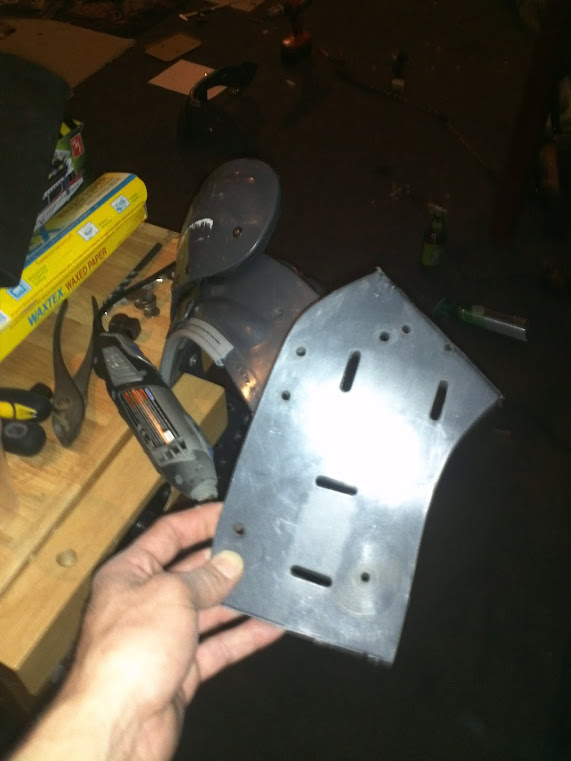
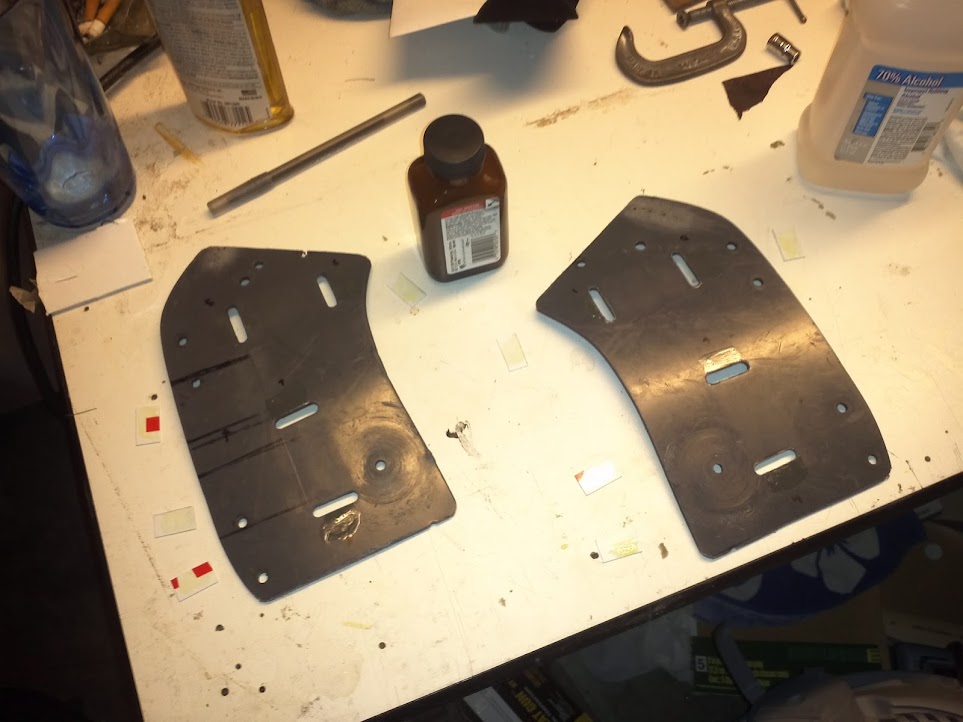
Same thing; drill out the rivets on the random hardware you don't need.
I should probably point out that I'm using the back as the front.
So, I used the back plastics for the chest plates.
Maybe its just me but, I find it funny that my pads and straps are backwards.
Back to the plastic:
YAY! I DID IT RIGHT!
LEFT-Untouched RIGHT- Hardware stripped.
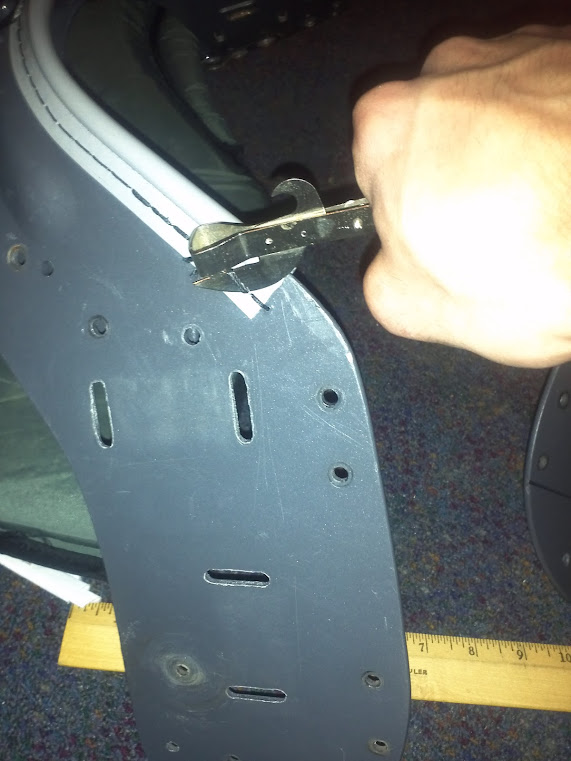
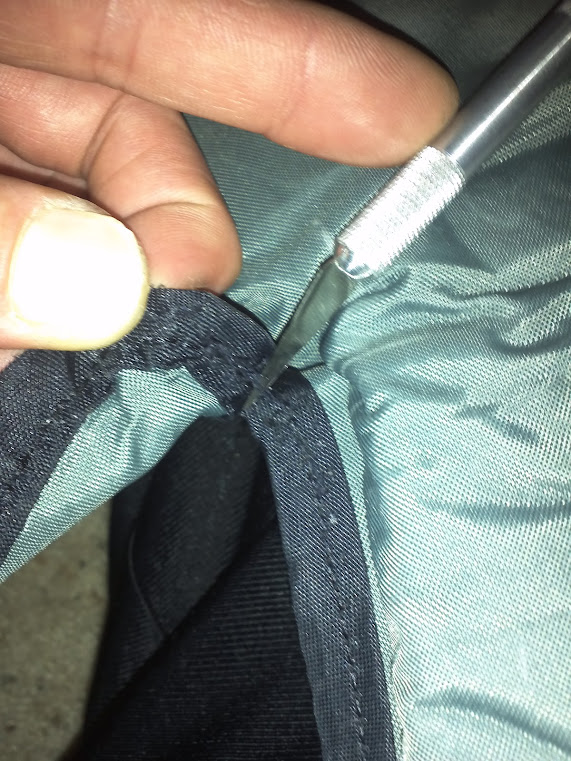
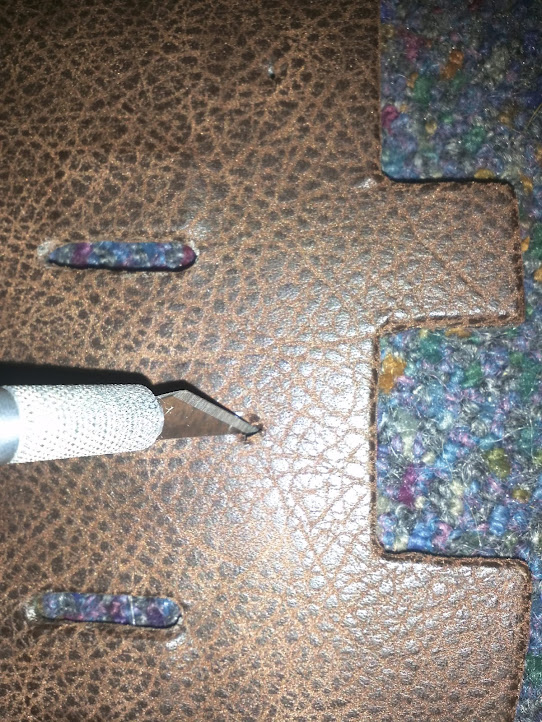
Used a seam ripper to pull back and then cut off this collar piece.
There was a couple raised holes from that stitch. Some 100 grit sandpaper took care of them.
I took a couple measurements off the edges of the velcro holes and then mirrored them onto the other half.

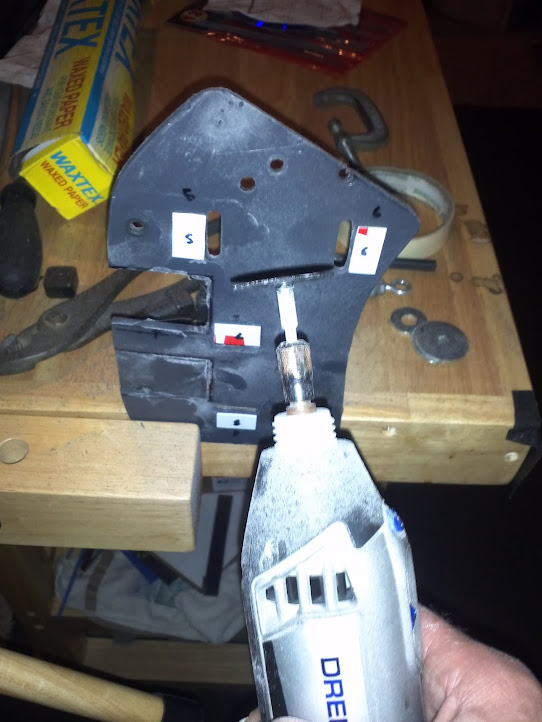
Secured it in place and took a dremel with one of the nicer cutting discs to it.


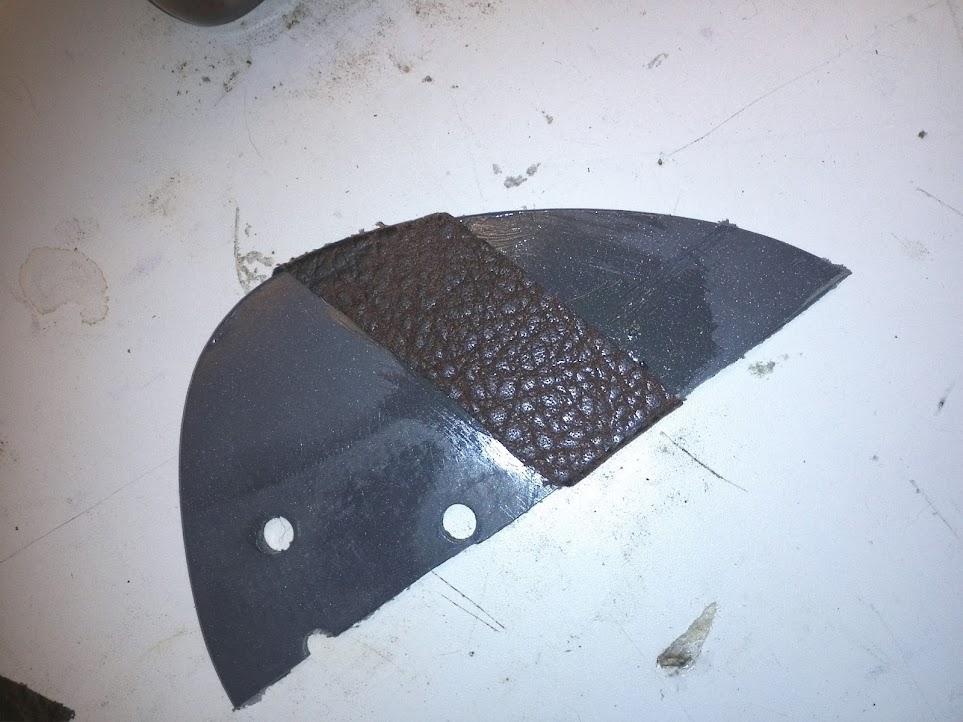
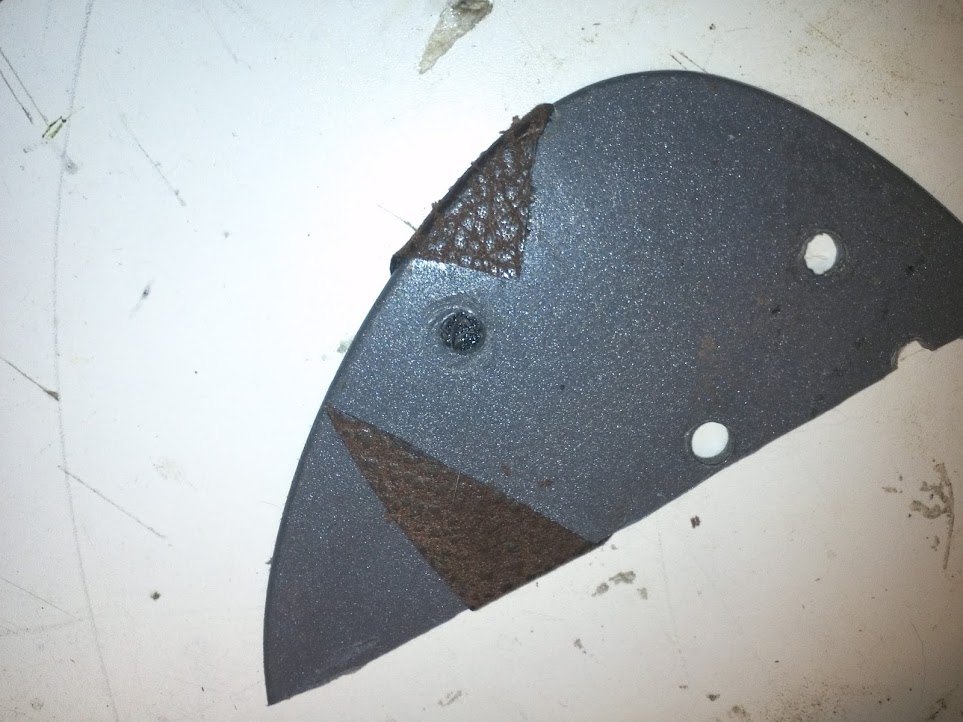
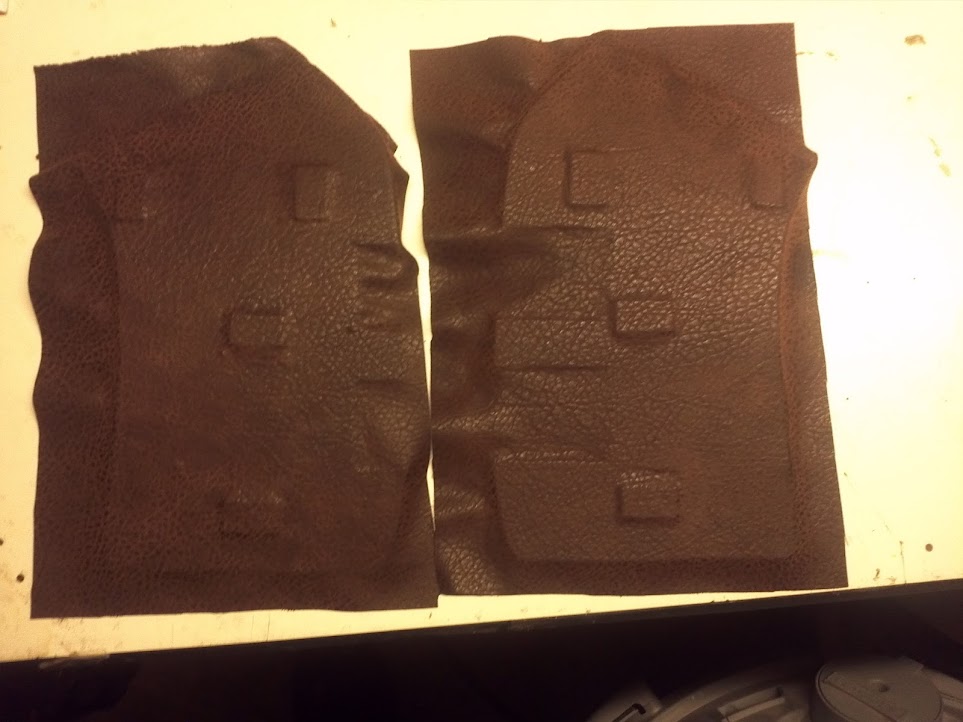
I picked up a strip of upholstery fabric that has the look of leather but sews like cloth.
This is the same fabric I'm using to wrap the collar, more on that later.
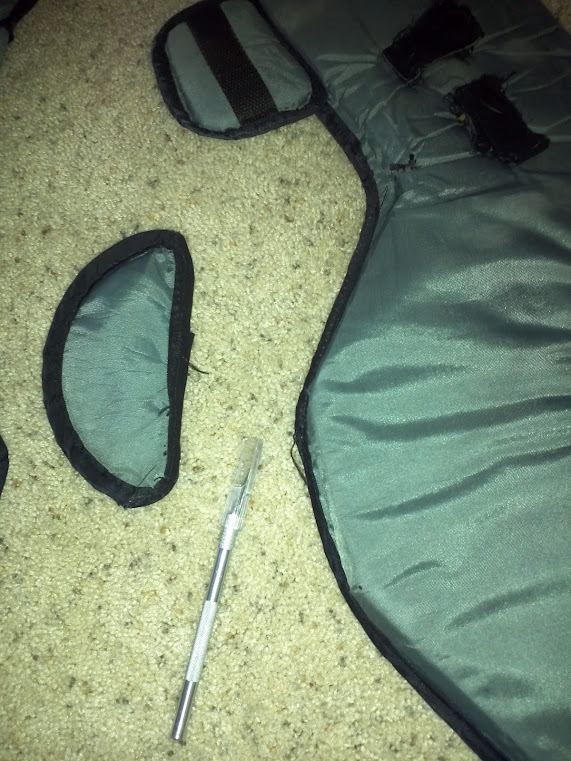
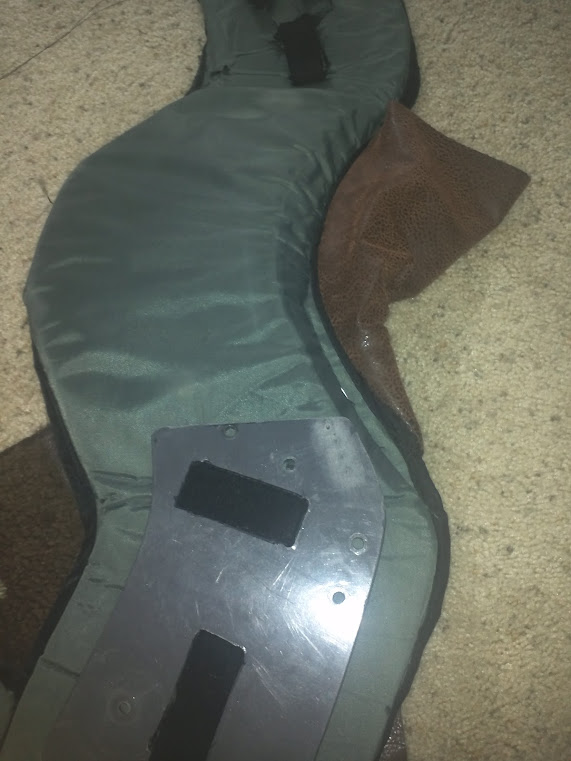
The pads had some little extra flaps on the chest. I think they may be used to protect the ribs?
Whatever they are they had to go.
I was thinking they may make a nice "minimalist" head rest for the main tank.
A hobby knife makes a great seam ripper for the more delicate jobs:
Getting a feel for where the strap pads need to be:
I also cut away all that extra crap around the shoulders.
I felt like it would be too bulky with the shoulder braces and the extra pads on top.
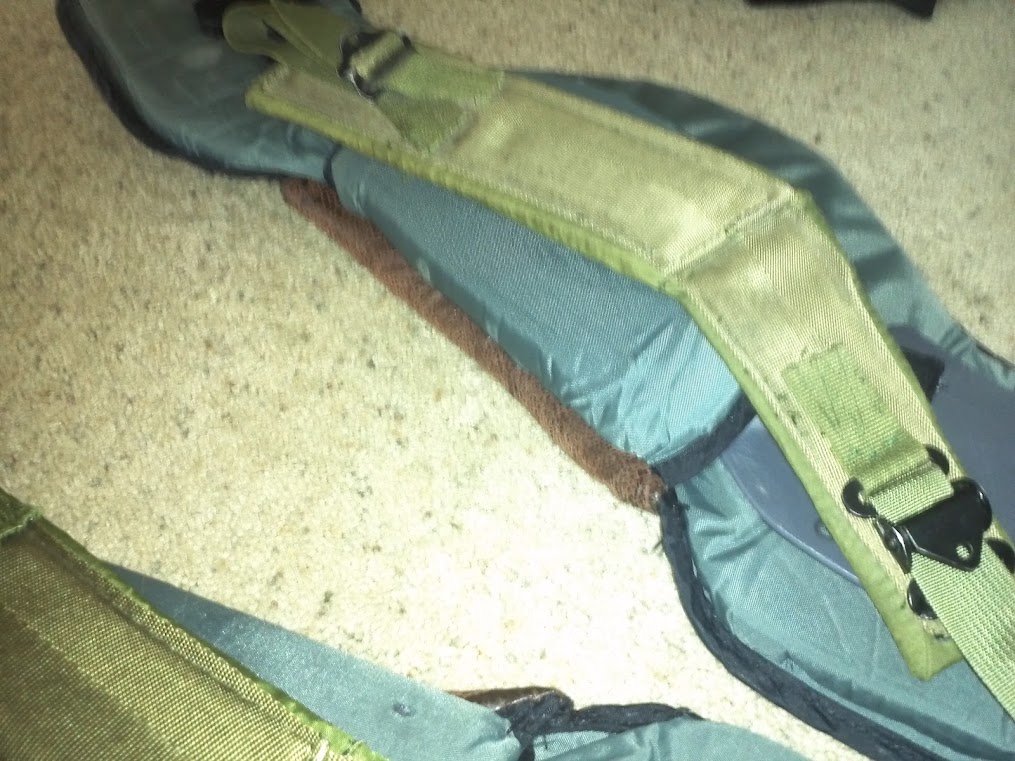
Now, the collar;
I folded the fabric for a clean edge.
Pined it along the outer edge of the piping that runs in-between the pads collar and shoulder.
Then a simple running stitch.
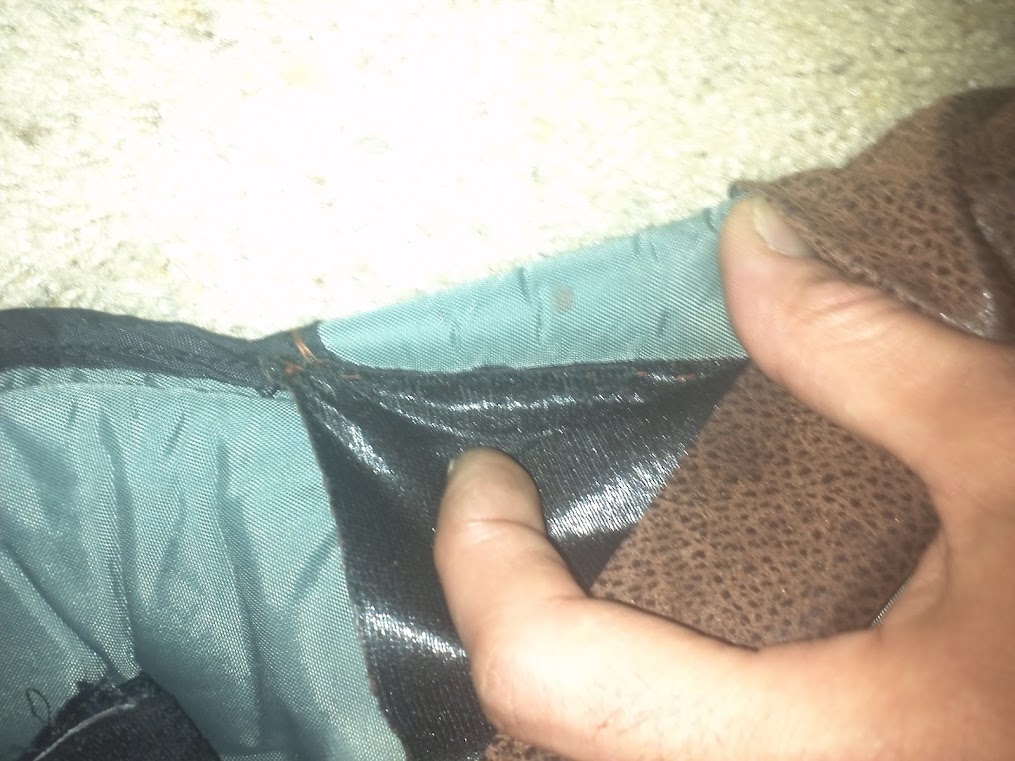
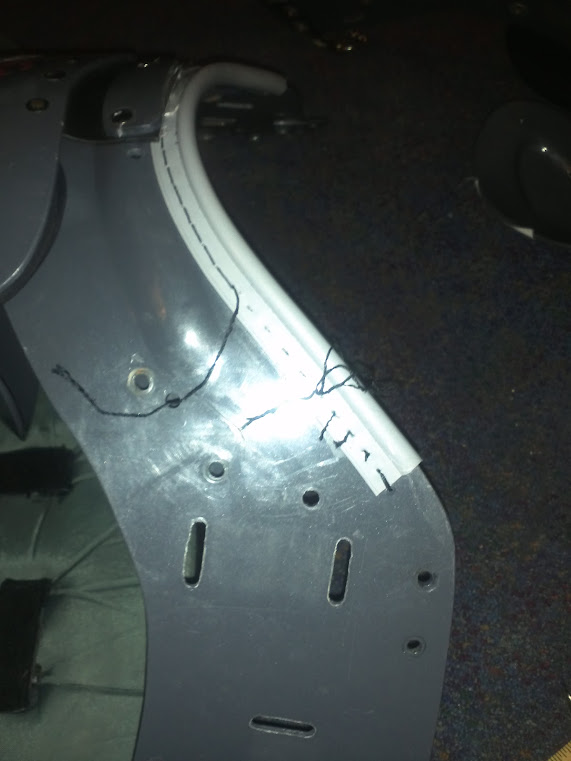
You can see the black edge that runs along the fabric.
That's the piping I was talking about eailer; It's a nice guide for where most of the sewing occurs.
I then pined the fabric in place on the underside.
Since you don't see it I wasn't concerned with folding here for a clean edge.

I also pinned the strap pad in place on the top half.
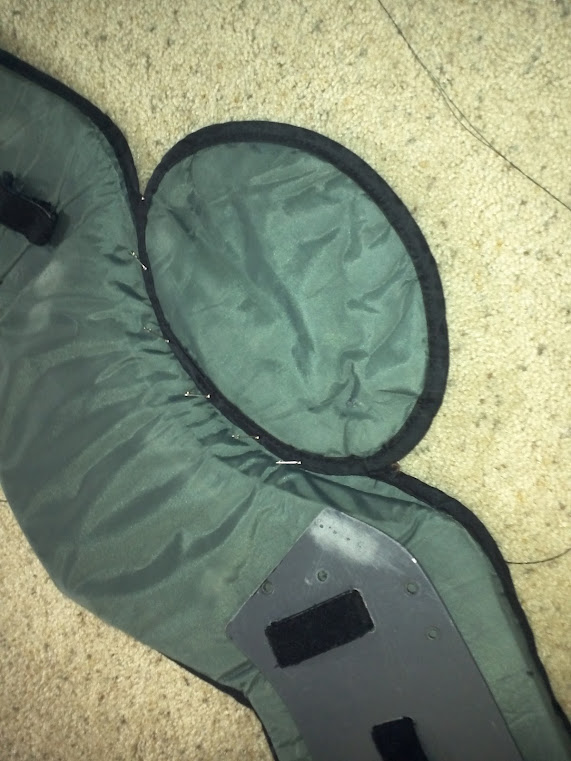
As you can see, the extra pads closest edge to where it will fold sits nicely along collar.
This was a tip from one of my seamstress friends and made sewing it all together much easier.
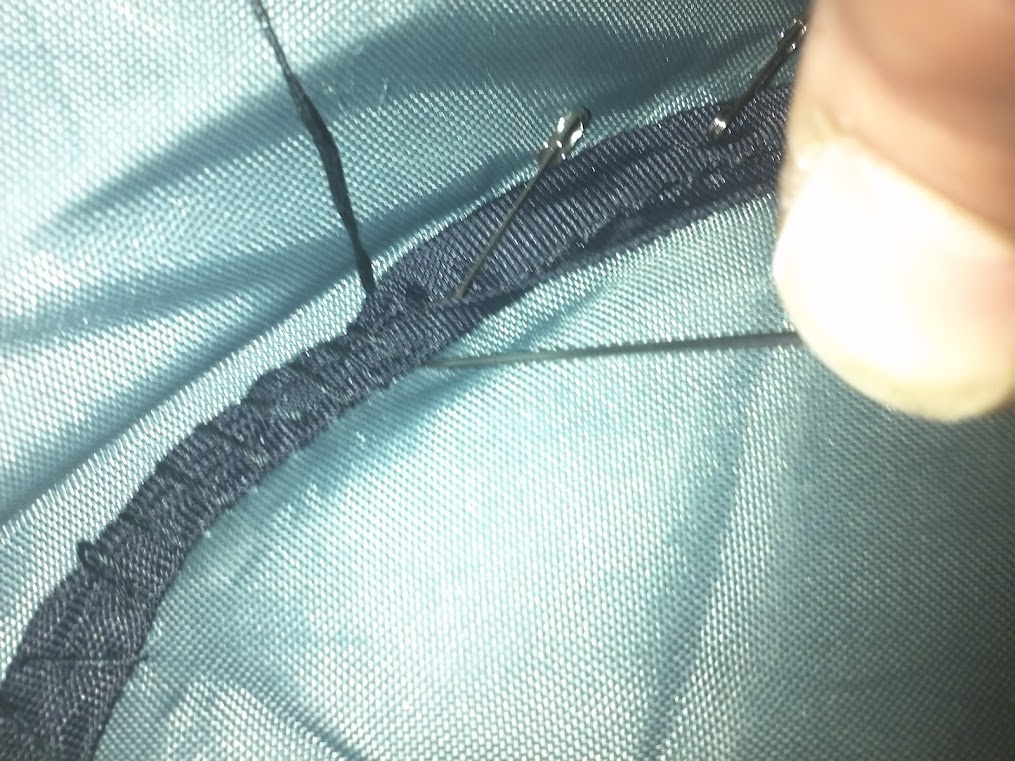
I stated at the front on the underside and did a whip stitch though the fabric and around the pined edge of the extra pad.
When I went back though the extra pad and collar I kept to the piping and it pretty much went together itself.


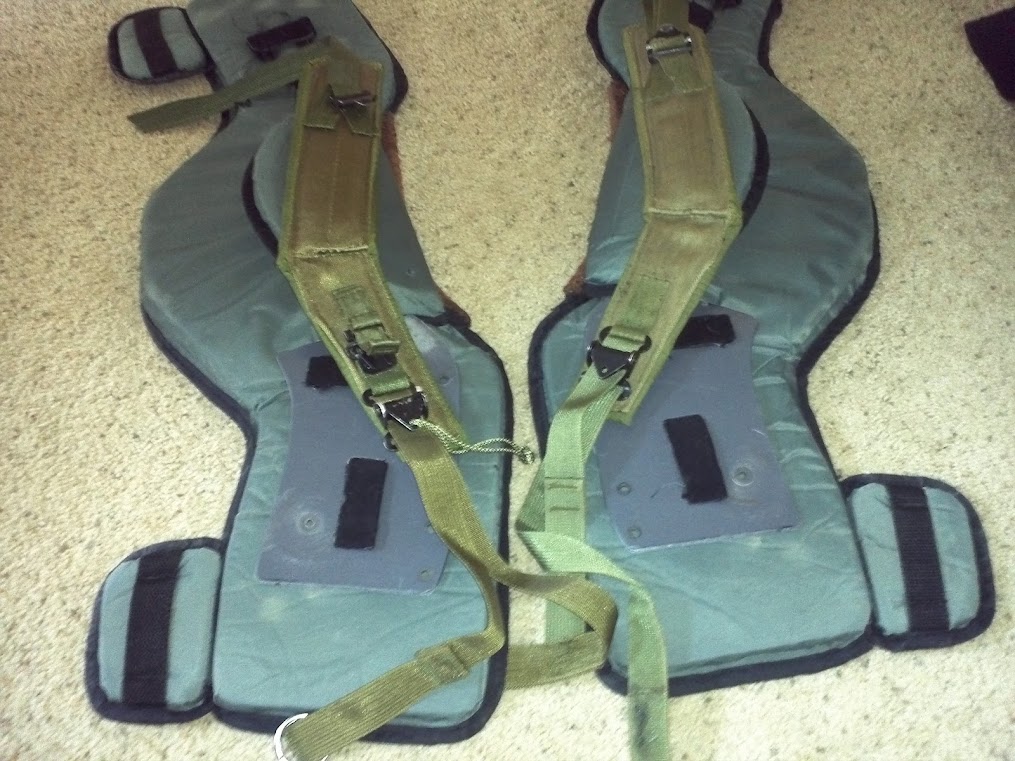
One down.
Start of the second..
..and done with most of the major work.
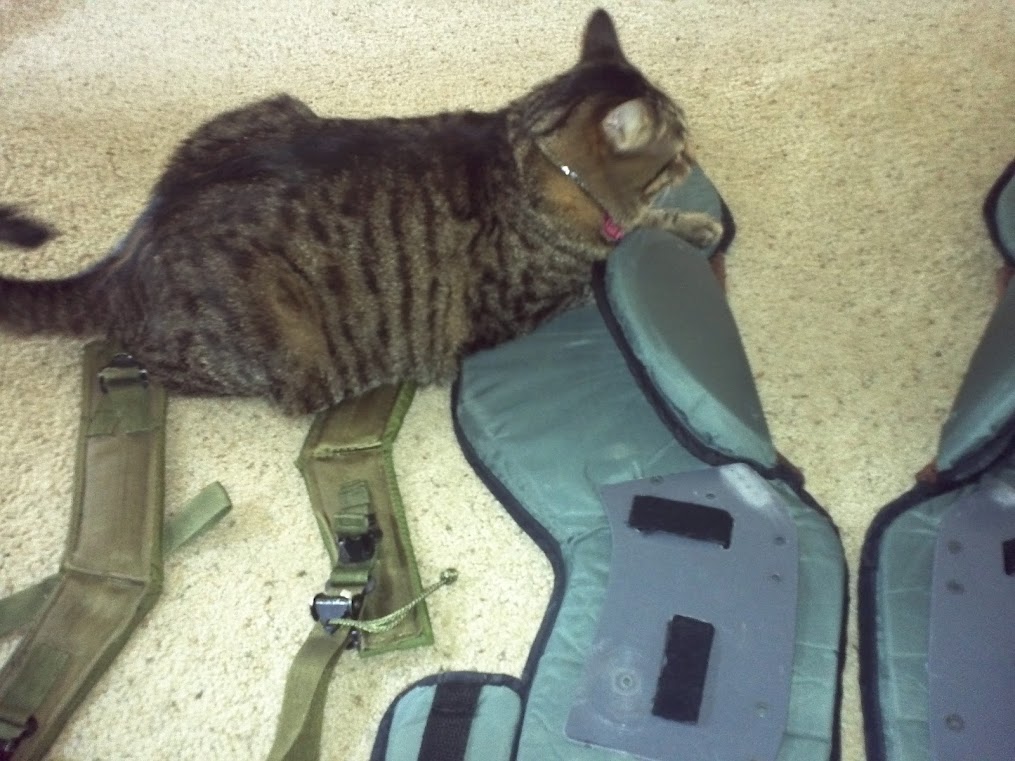
Apparently Slime Blower vests also make for great cat beds.

I want to get these finished.
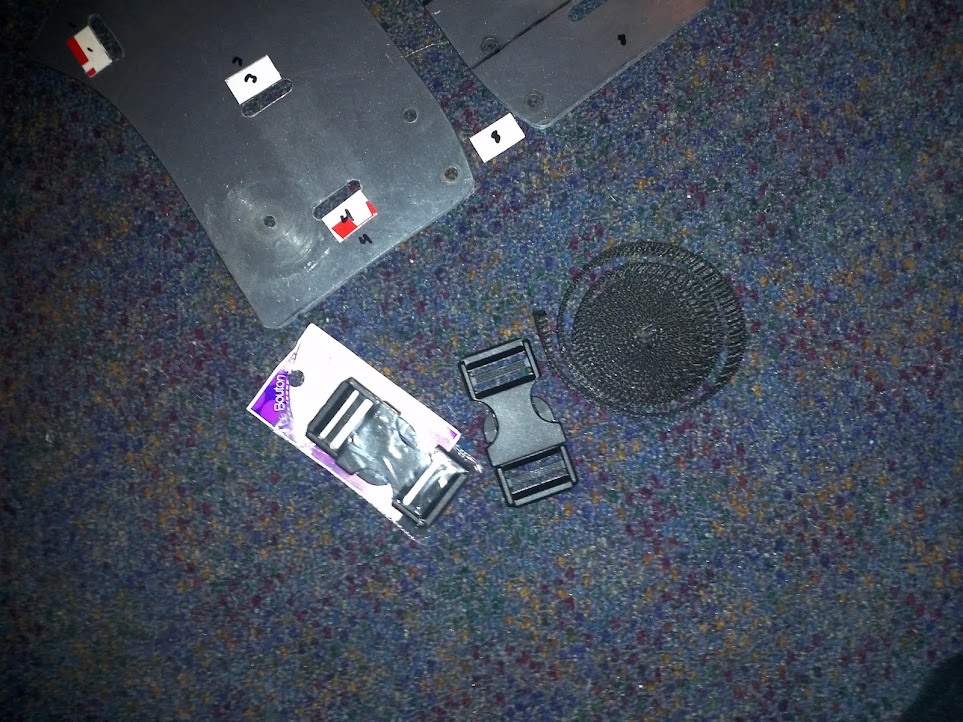
Right now I'm looking for some decent Side-Release Clips.
1" clips look right to me but I'd like to find some that are as close as possible.
I'm also debating on how to adhere the fabric to the plates. Super 77? Contact Cement?
Lastly, are the metal bits that hold the webbing for the clips; wide flange rivets?
Thanks for looking!
Drilled the holes for the loom that runs up the tanks in the tray lid:
The holes center points are 1.5" from the edge and they are 13/16"
I used a step bit. If you need one, Harbor Freight; I paid less than $10 for a two pack that also came a bigger one.
Finally attached the third hose to the Parker quick-connect on the left side.
I simply used some of the same tape thus far to hold it in place and then smashed it under the angled plate.
That clamp helped to hold the plate down while I tightened the screws.
Then, I set about getting the vest in order.
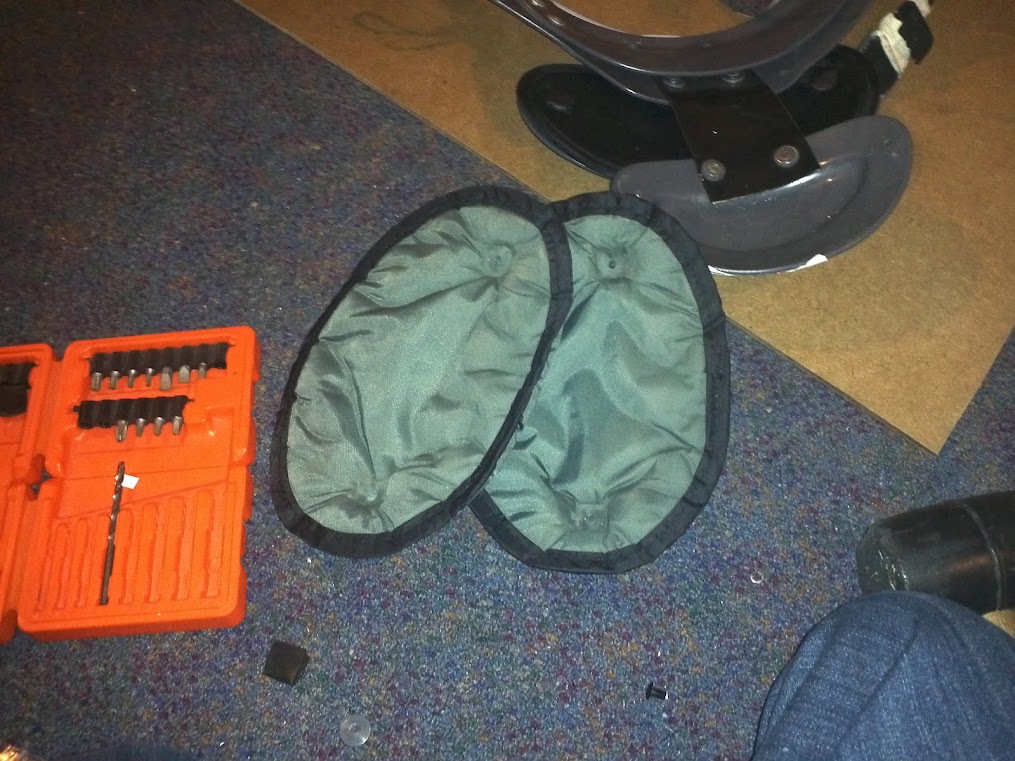
First things first, I need extra pads for under the ALICE straps.
I decided to use the extra pads on the shoulder flaps for those.
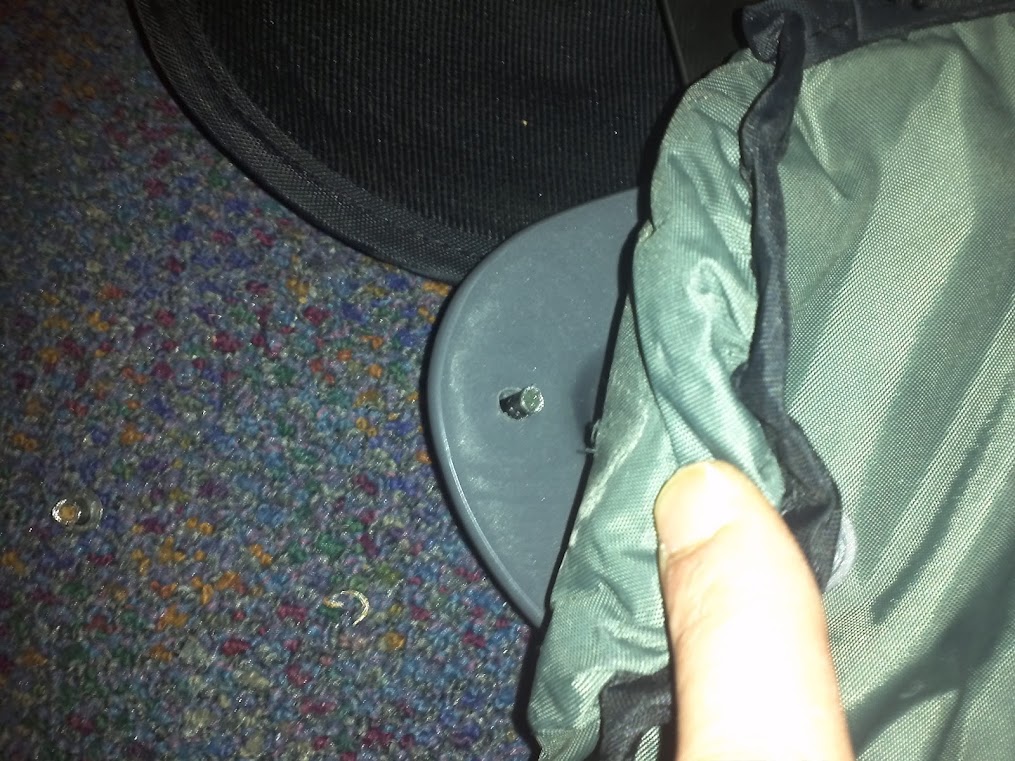
Drill the rivets out right and those little plastic retaining clips come right off.
Then the pad pulls right off.
Laid everything out to get a feel for it.
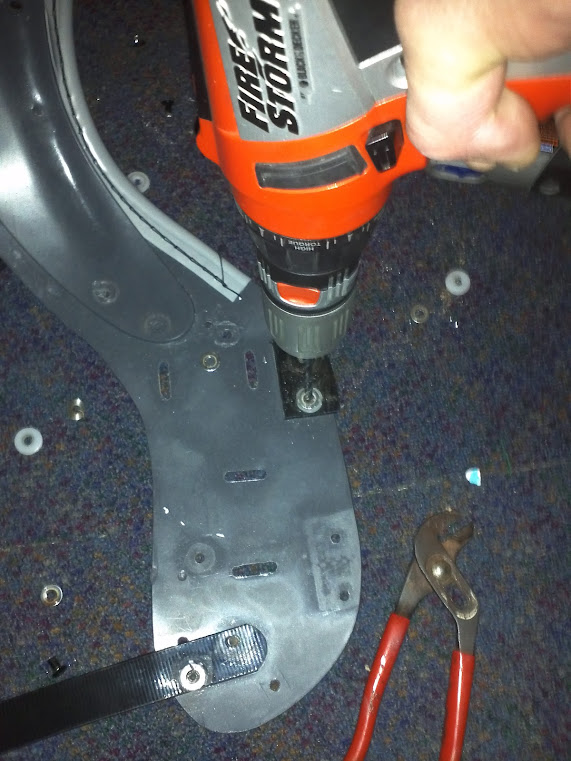
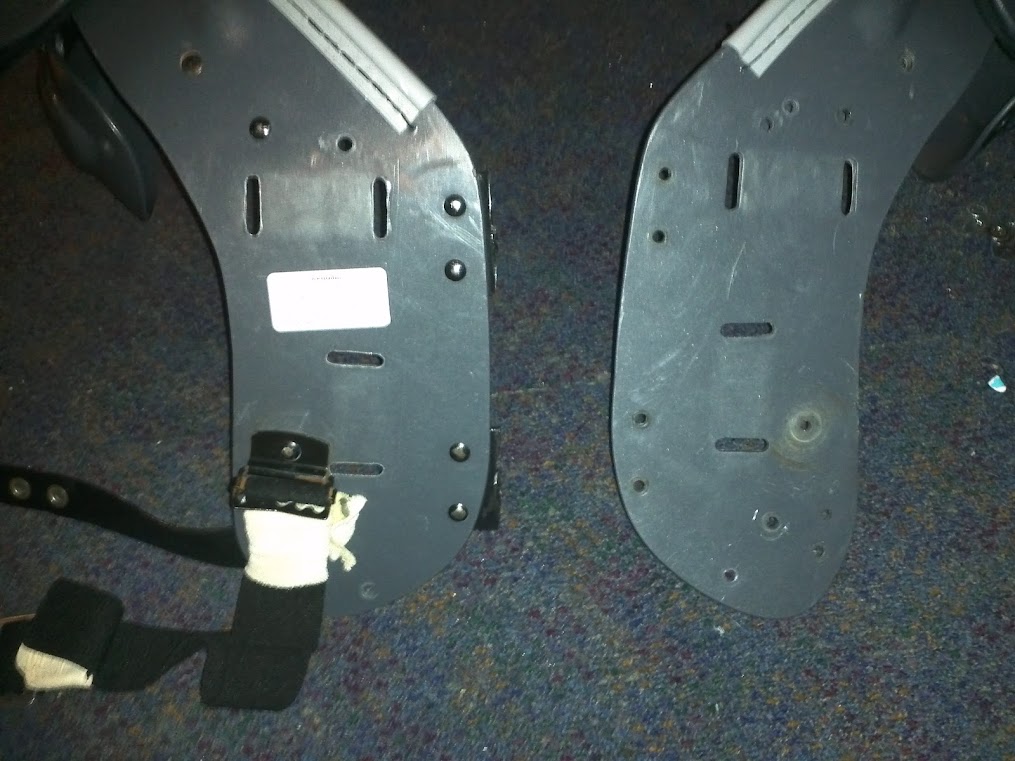
Next up, the chest plates.
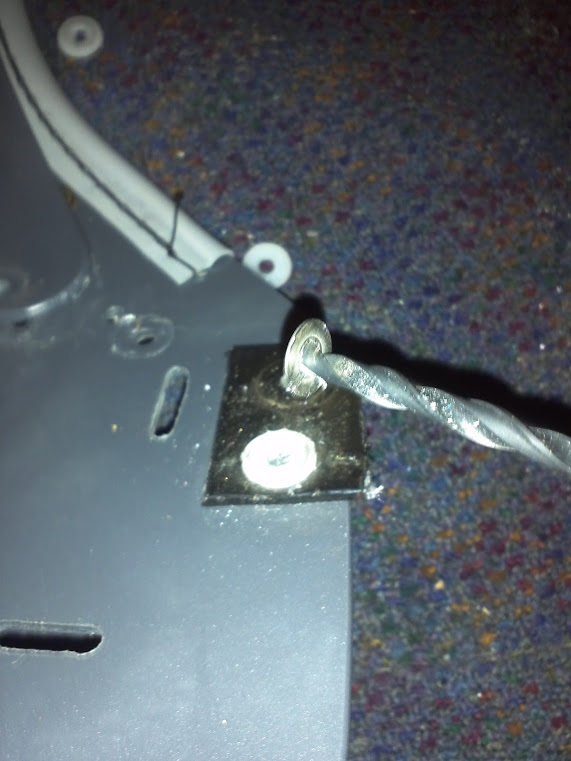
Same thing; drill out the rivets on the random hardware you don't need.
I should probably point out that I'm using the back as the front.
So, I used the back plastics for the chest plates.
Maybe its just me but, I find it funny that my pads and straps are backwards.
Back to the plastic:
YAY! I DID IT RIGHT!
LEFT-Untouched RIGHT- Hardware stripped.
Used a seam ripper to pull back and then cut off this collar piece.
There was a couple raised holes from that stitch. Some 100 grit sandpaper took care of them.
I took a couple measurements off the edges of the velcro holes and then mirrored them onto the other half.
Secured it in place and took a dremel with one of the nicer cutting discs to it.
I picked up a strip of upholstery fabric that has the look of leather but sews like cloth.
This is the same fabric I'm using to wrap the collar, more on that later.
The pads had some little extra flaps on the chest. I think they may be used to protect the ribs?
Whatever they are they had to go.
I was thinking they may make a nice "minimalist" head rest for the main tank.
A hobby knife makes a great seam ripper for the more delicate jobs:
Getting a feel for where the strap pads need to be:
I also cut away all that extra crap around the shoulders.
I felt like it would be too bulky with the shoulder braces and the extra pads on top.
Now, the collar;
I folded the fabric for a clean edge.
Pined it along the outer edge of the piping that runs in-between the pads collar and shoulder.
Then a simple running stitch.
You can see the black edge that runs along the fabric.
That's the piping I was talking about eailer; It's a nice guide for where most of the sewing occurs.
I then pined the fabric in place on the underside.
Since you don't see it I wasn't concerned with folding here for a clean edge.
I also pinned the strap pad in place on the top half.
As you can see, the extra pads closest edge to where it will fold sits nicely along collar.
This was a tip from one of my seamstress friends and made sewing it all together much easier.
I stated at the front on the underside and did a whip stitch though the fabric and around the pined edge of the extra pad.
When I went back though the extra pad and collar I kept to the piping and it pretty much went together itself.
One down.
Start of the second..
..and done with most of the major work.
Apparently Slime Blower vests also make for great cat beds.
I want to get these finished.
Right now I'm looking for some decent Side-Release Clips.
1" clips look right to me but I'd like to find some that are as close as possible.
I'm also debating on how to adhere the fabric to the plates. Super 77? Contact Cement?
Lastly, are the metal bits that hold the webbing for the clips; wide flange rivets?
Thanks for looking!
Spring-loaded acrylic tip? Yes.. have some:
http://www.gbfans.com/community/viewtop ... 42&t=31992
http://www.gbfans.com/community/viewtop ... 42&t=31992


 - By Alphagaia
 - By mrmichaelt